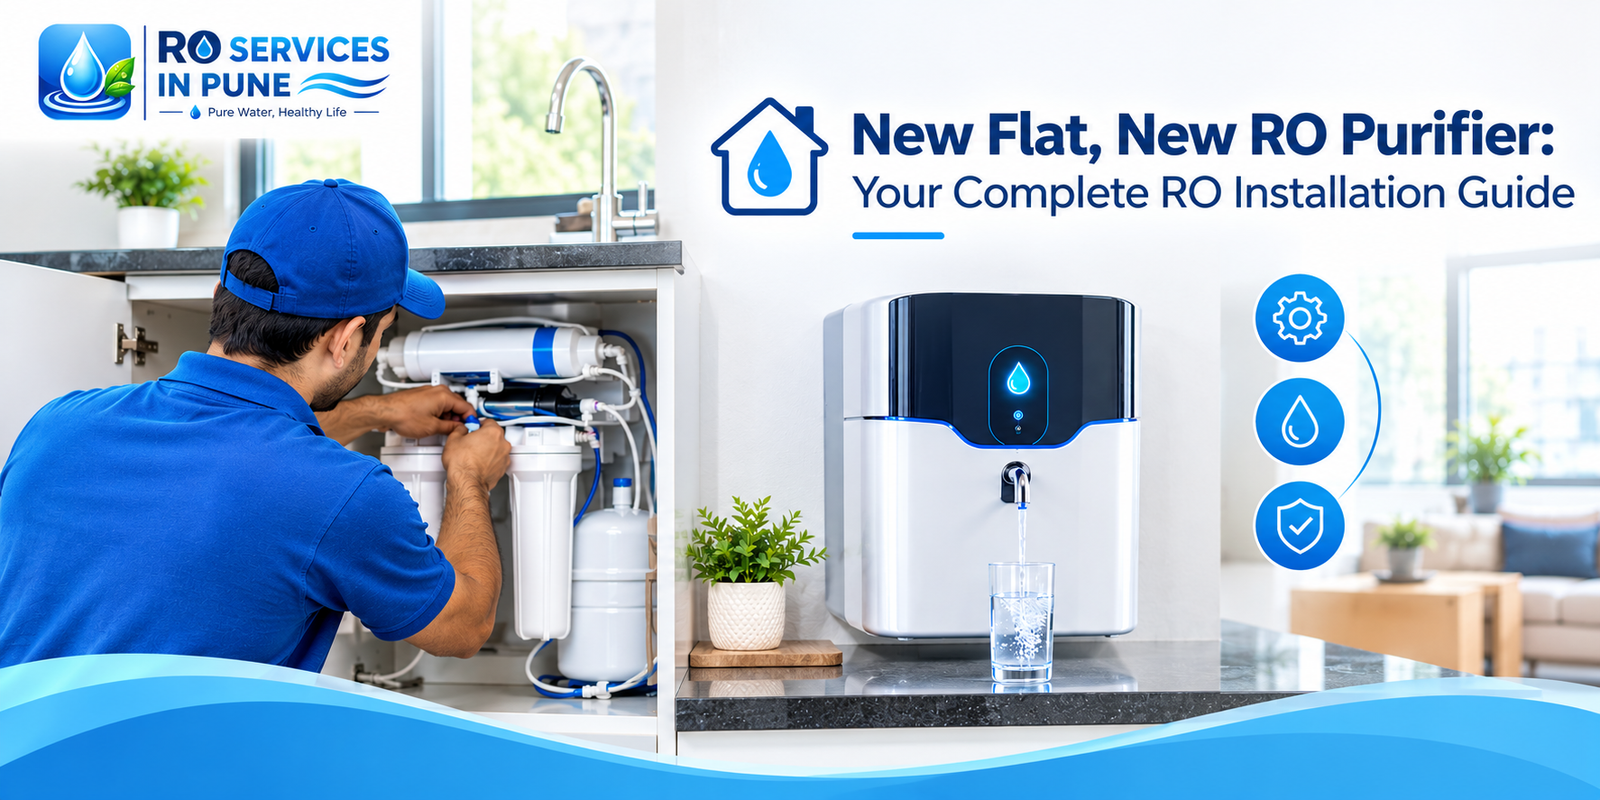
Getting the keys to a new flat is exciting — but in the rush of moving boxes, choosing paint colours, and setting up furniture, one thing most new homeowners overlook is whether the water coming out of their taps is actually safe to drink. Before you rely on tap water or set up any purifier, it helps to follow a proper RO installation guide — because a rushed, DIY setup is one of the most common reasons purifiers develop leaks, lose pressure, or need repair calls within weeks of being installed.
This guide walks you through everything a new homeowner in Pune needs to know before, during, and after RO installation — so you don’t end up calling a technician back within the first month of moving in.
Why a Proper RO Installation Guide Matters for New Flats
New construction flats often come with water sources that haven’t been tested yet. Some societies rely on municipal supply, others on borewells, and many use a mix depending on the building and locality. Installing a purifier without knowing your actual water quality is a bit like buying shoes without knowing your size — it might work, but it’s unlikely to be the right fit. That’s the first principle any real RO installation guide should start with: test before you install, not after.
Skipping this step is exactly why so many new homeowners end up with purifiers that either over-filter — stripping out minerals your water didn’t even have in excess — or under-filter, leaving contaminants behind that a stronger filtration stage would have caught. Neither outcome is obvious just by looking at or tasting the water, which is why guesswork at this stage tends to backfire later.
Step-by-Step: What This RO Installation Guide Covers
1. Test your water first.
Before any RO installation process begins, get your new flat’s water tested for TDS, hardness, and contamination levels. This single step determines almost every other decision that follows — including which purifier type actually makes sense for your home, rather than a generic recommendation that may not suit your water source at all.
2. Choose the right purifier stage.
Based on your test results, you’ll typically need to decide between RO, RO+UV, or RO+UV+UF systems. This is a core part of any reliable water purifier installation decision. Choosing the wrong stage usually means one of two outcomes: wasted cost on filtration your water didn’t need, or inadequate protection against contaminants your water actually has.
3. Check wall space and plumbing access.
New flats vary considerably in kitchen layout, especially across different builders and configurations. A good RO installation process includes checking wall-mounting space, inlet water pressure, and drainage point placement before any fitting work begins — not as an afterthought once the unit is already unboxed.
4. Confirm installation is done professionally, not DIY.
Loose push-fit connectors, incorrectly mounted units, and skipped inline flushing are among the most common reasons new installations run into trouble within the first month. A proper RO water purifier installation always includes pressure testing and inline flushing before the purifier is used for the first time — steps that are easy to skip if you’re setting it up yourself or relying on whoever installed it fastest.
5. Ask about RO installation charges upfront.
Charges vary depending on whether you’re installing a newly purchased purifier — which often includes free installation — or requesting a standalone installation for a unit bought elsewhere, which typically carries a separate charge. A transparent water purifier installation service will confirm this cost before any work starts, not after the job is already done.
6. Get a final TDS and leak check.
Before the technician leaves, your RO installation guide checklist isn’t really complete without a final quality check confirming the purifier is filtering correctly for your specific water source, and that there are no leaks at the fittings or connections.
Common Mistakes New Homeowners Make
A lot of new flat owners install a purifier the same day they move in, without testing the water first — then wonder months later why the taste or TDS reading seems off. Others simply go with whichever technician is available fastest, without asking about RO installation charges, warranty coverage on parts, or what the installation process actually includes. Following a proper RO installation guide from day one helps you avoid both problems, and often saves you an unnecessary repeat service call down the line.
It’s also worth knowing upfront that even a perfectly installed purifier isn’t a one-time job. Filters and membranes wear out over time regardless of how well the initial setup was done, so it helps to understand how often your filter actually needs changing well before it becomes a problem, rather than waiting for a noticeable drop in water quality to remind you.
Why This Matters More in Pune Specifically
Pune’s water quality varies significantly from one locality to another. Some areas rely primarily on municipal supply, others depend on borewells, and hardness levels can differ noticeably even between neighbouring societies. A generic RO installation guide written with a different city in mind simply won’t account for this kind of local variation. That’s precisely why testing your specific flat’s water — rather than assuming a one-size-fits-all setup will work — matters more here than it might in a city with a single, uniform water source across the board.
This is also worth keeping in mind if you’re moving from an area with relatively soft water to a locality known for harder water, or vice versa. What worked fine in your previous home may not be the right configuration for your new flat, even if the purifier itself looks identical.
What to Do Once You’ve Followed This RO Installation Guide
Once you’ve tested your water and worked out the right purifier stage for your new home, the final step is booking a proper RO installation rather than attempting a rushed DIY setup or going with whoever happens to be cheapest. A professional installation includes wall-mounting, pressure testing, and inline flushing as standard practice — not as an optional upsell tacked on at the end.
Getting this right from the start means fewer surprises in the following weeks: no unexpected leaks, no early repair calls, and a purifier that performs the way it’s supposed to from day one in your new home.
Setting up in a new flat in Pune? Book your RO installation with a team that starts every job with proper water testing — not guesswork.
Frequently Asked Questions
Yes — testing first tells you exactly what TDS, hardness, and contamination levels you’re dealing with, so you don’t end up choosing the wrong purifier stage for your specific water source.
It depends on whether you’re installing a newly purchased purifier, which often includes free installation, or need a standalone installation for a unit bought elsewhere, which carries a separate charge confirmed upfront before work begins.
Technically yes, but incorrect fittings, missed pressure testing, or skipped inline flushing are the most common causes of early leaks and repair calls — a professional installation avoids these issues from day one.
A typical domestic installation, including wall-mounting, plumbing connections, and inline flushing, usually takes around 30 to 45 minutes when done professionally.
This is common when moving between localities in Pune. A technician can test your new address’s water during installation and recommend any adjustment to the filter or membrane stage to match the new source.